Candy Corn Fudge

Candy Corn Fudge

This time of year is so much fun!  So many fun Halloween, Thanksgiving and Christmas recipes to try out!  This one comes from the “Six Sisters’ Stuff” website.  It is super easy to make and so cute but it does require a little bit of time to put together.

2 cups (12 oz) white chocolate chips

1 (16 oz) can vanilla frosting

yellow and orange food coloring (I used red and yellow to make the orange)

1  Line an 8 x 8″ pan with wax paper and spray the wax paper with cooking spray.  Place 4 oz (about 2/3 cup) of white chocolate chips in a microwave safe bowl.  Microwave until melted, stirring every 30 seconds.

2  Stir until chocolate is smooth then add 1/3 of the frosting and a few drops of yellow food coloring.  Stir to combine and adjust coloring amount until you reach desired color.

3  Pour yellow fudge into pan and refrigerate until mostly set, about 20 – 30 minutes.

4  Repeat by melting chips, adding frosting and then orange food coloring.  If you have no orange, you can use yellow and red in a 2:1 ratio.  Pour orange over yellow and smooth top then return to fridge for another 20 – 30 minutes.

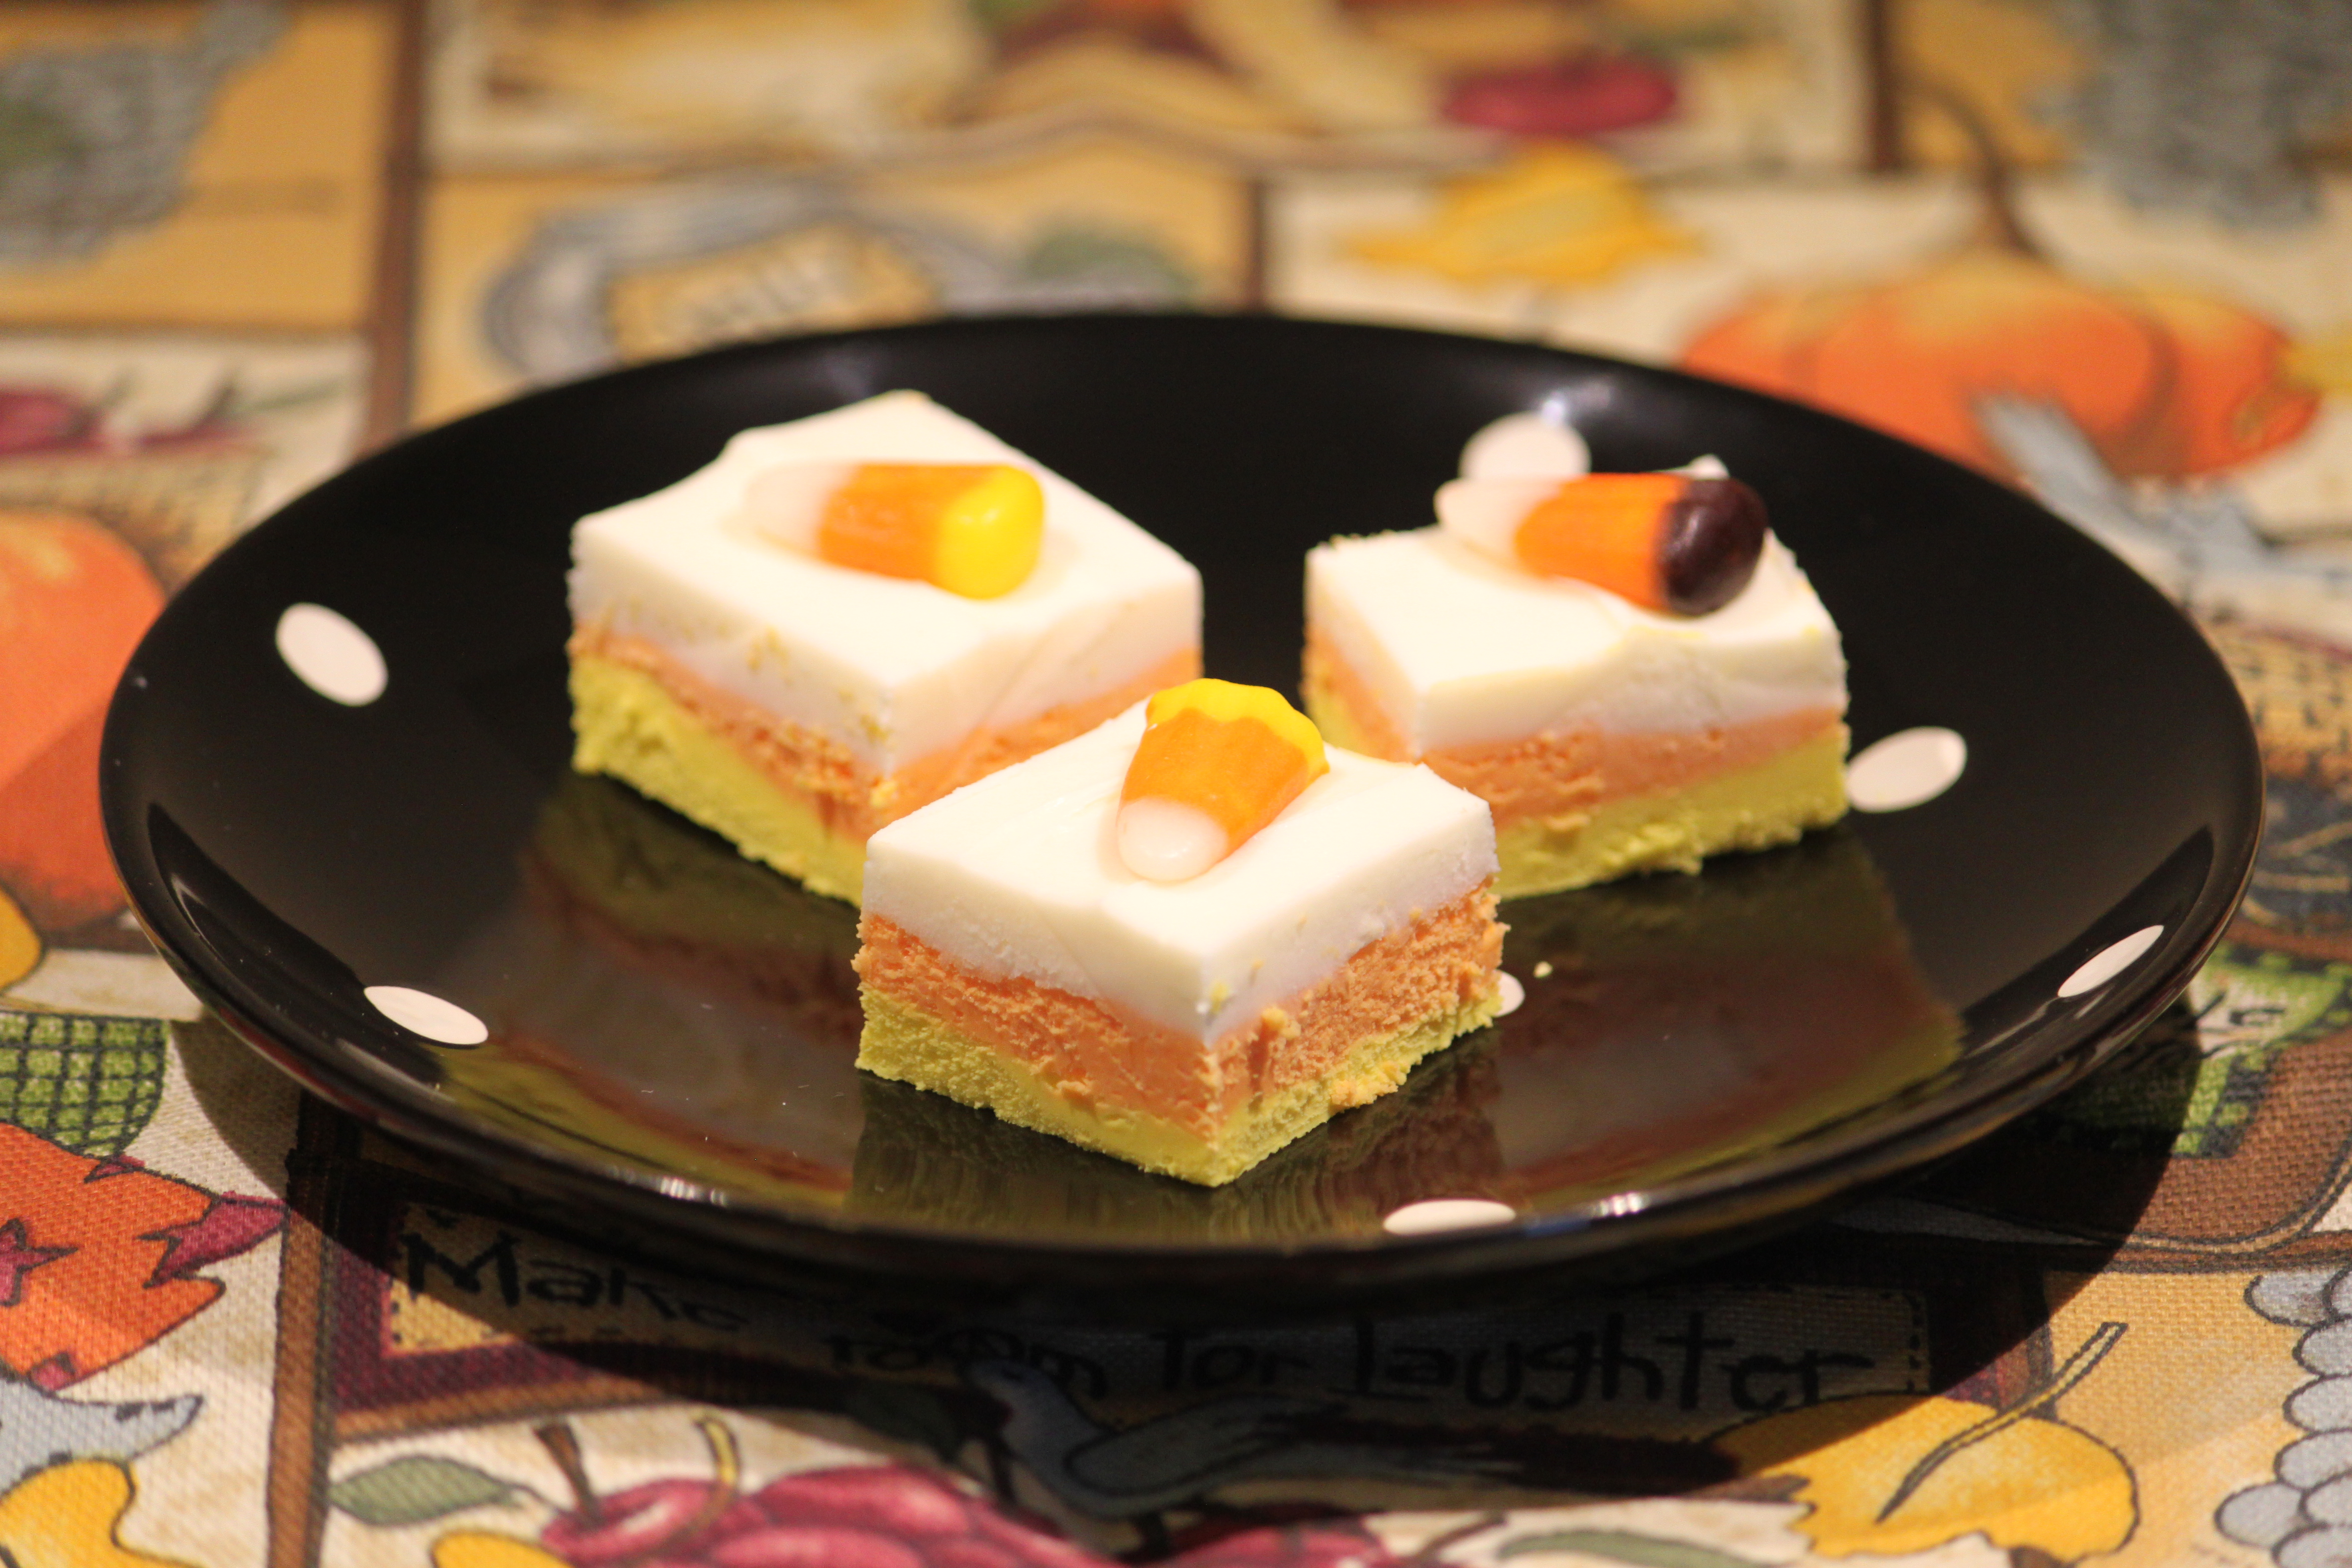
5  Repeat again with last of chips and frosting, adding no food coloring for the white layer.  Pour white over orange, smoothing the top and return to fridge for about 10 minutes.  Remove from fridge and lightly score fudge into 1″ squares, pressing a candy corn into each square.  Return to fridge and allow to set fully, about 2 hours.

6  Cut fudge into squares, using a knife with a smooth blade, wiping frequently to ensure that sides of fudge do not get smeared with other colors.  Store covered tightly in refrigerator.

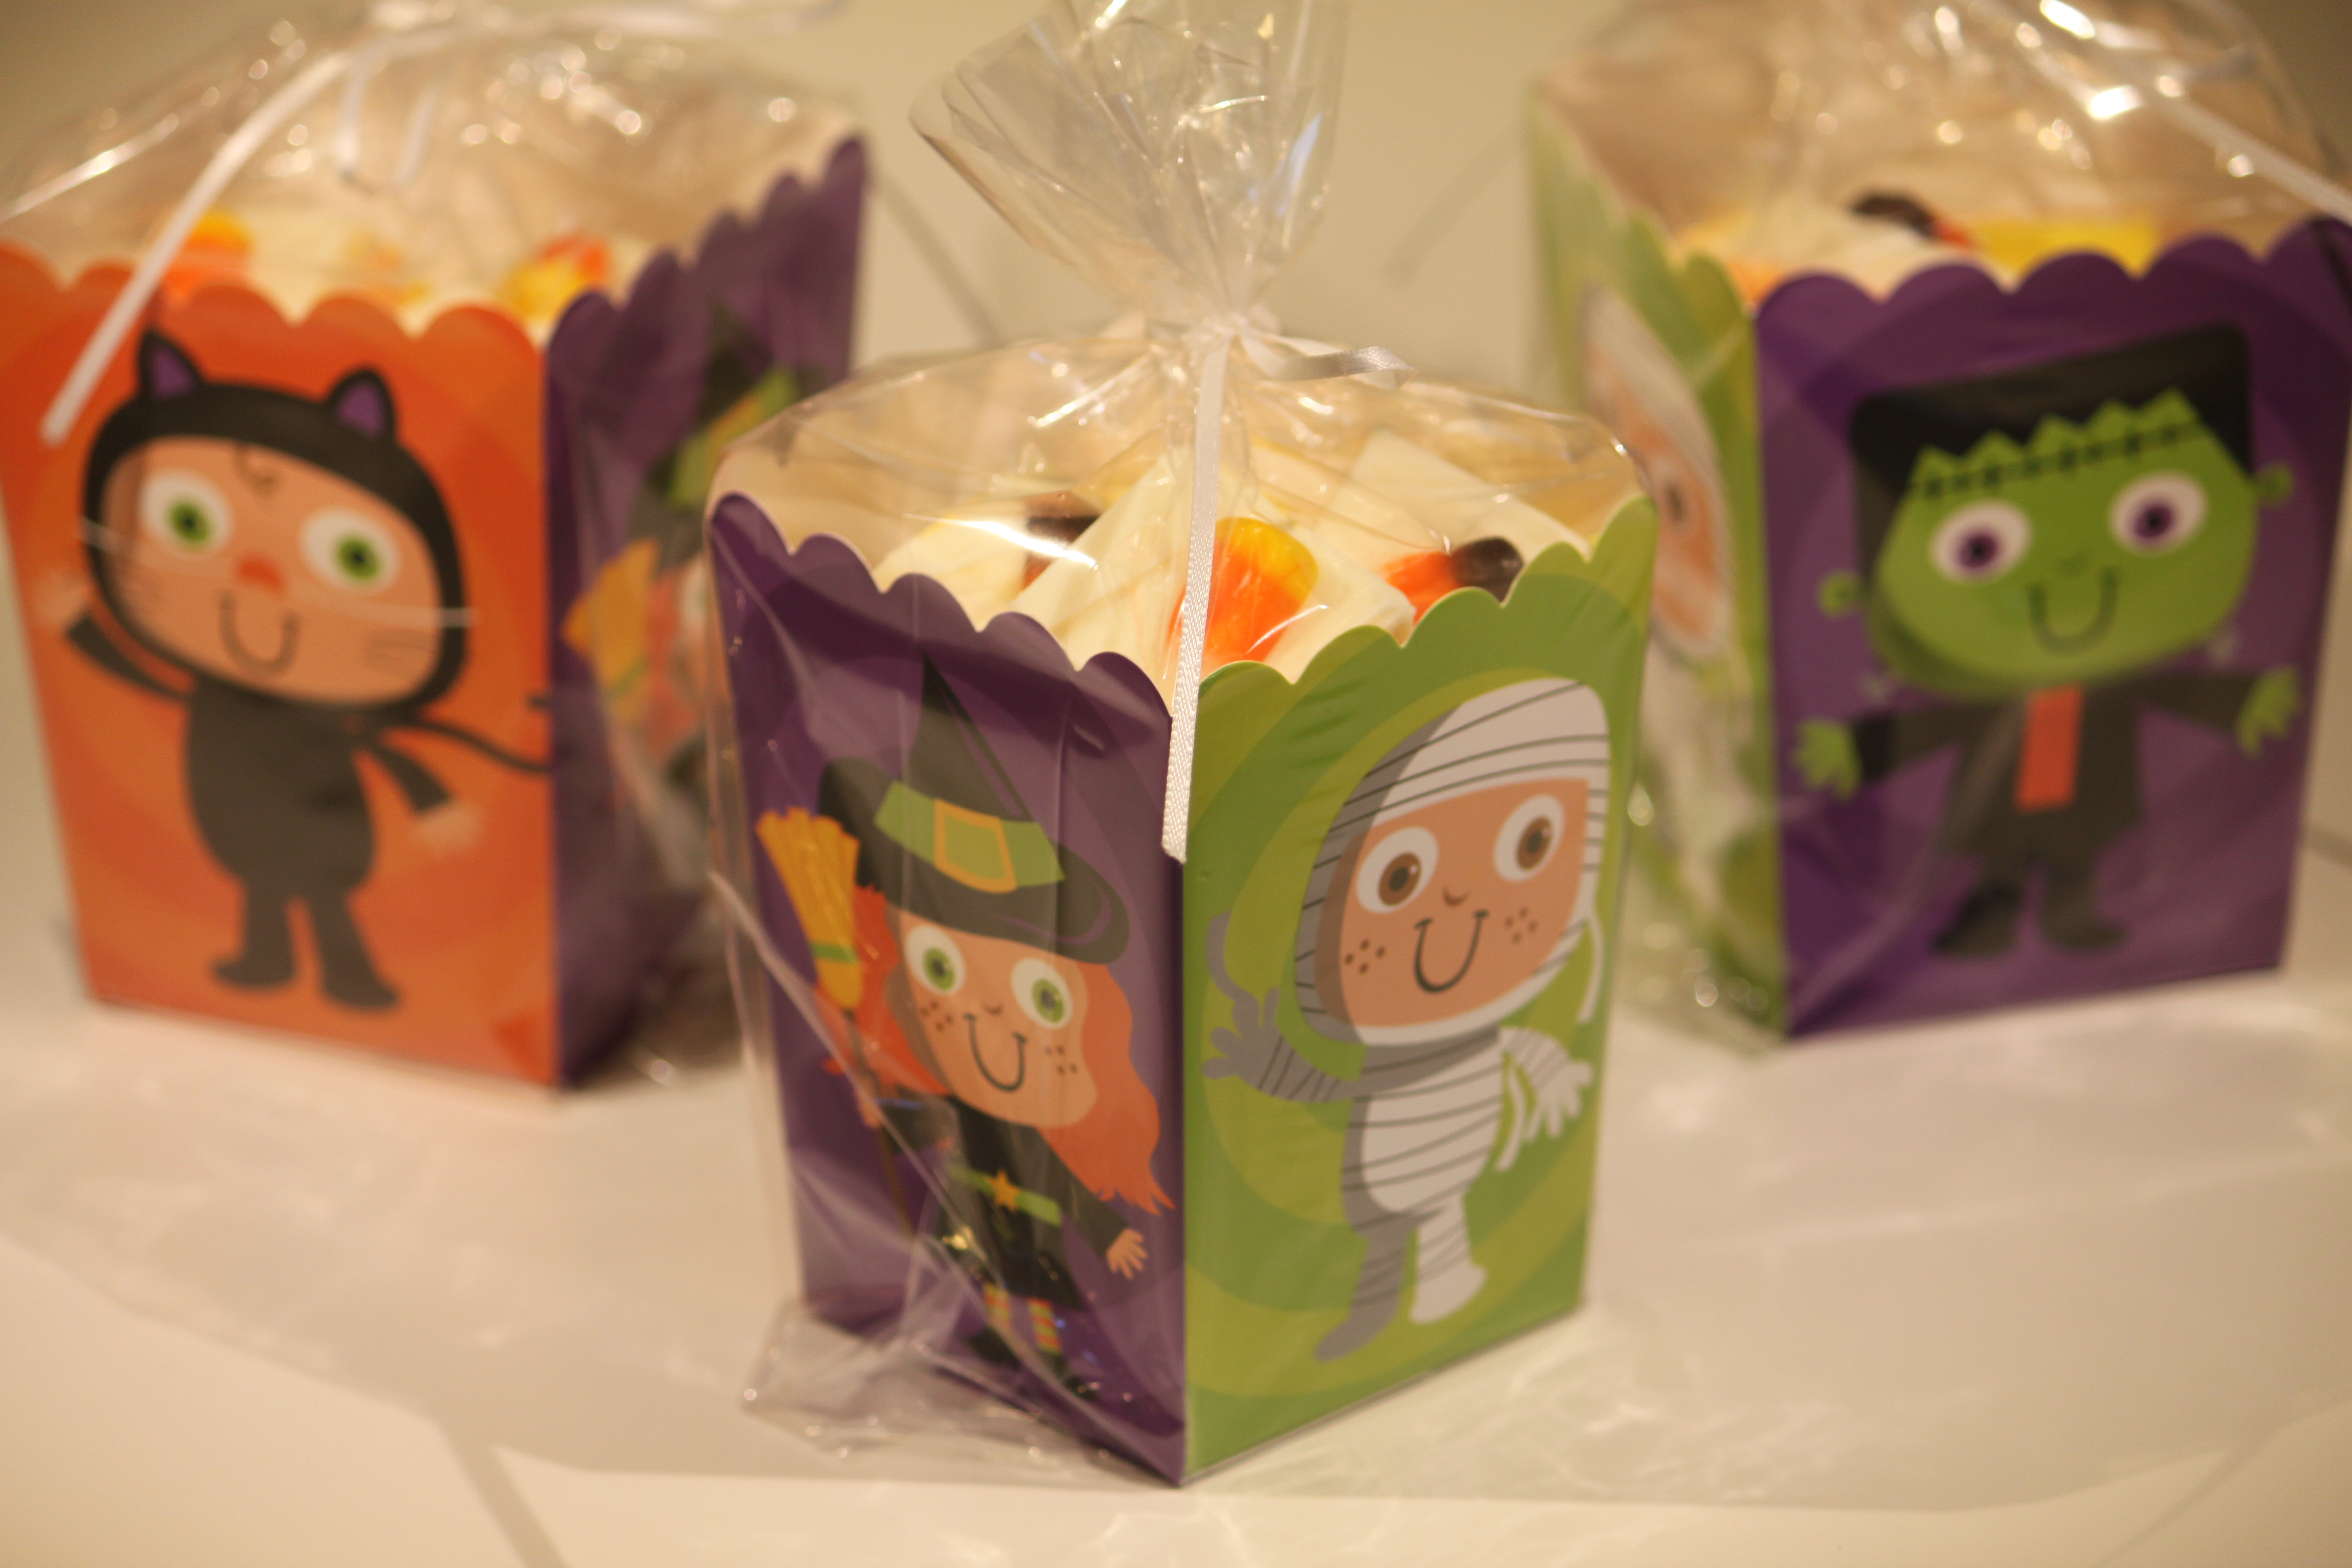
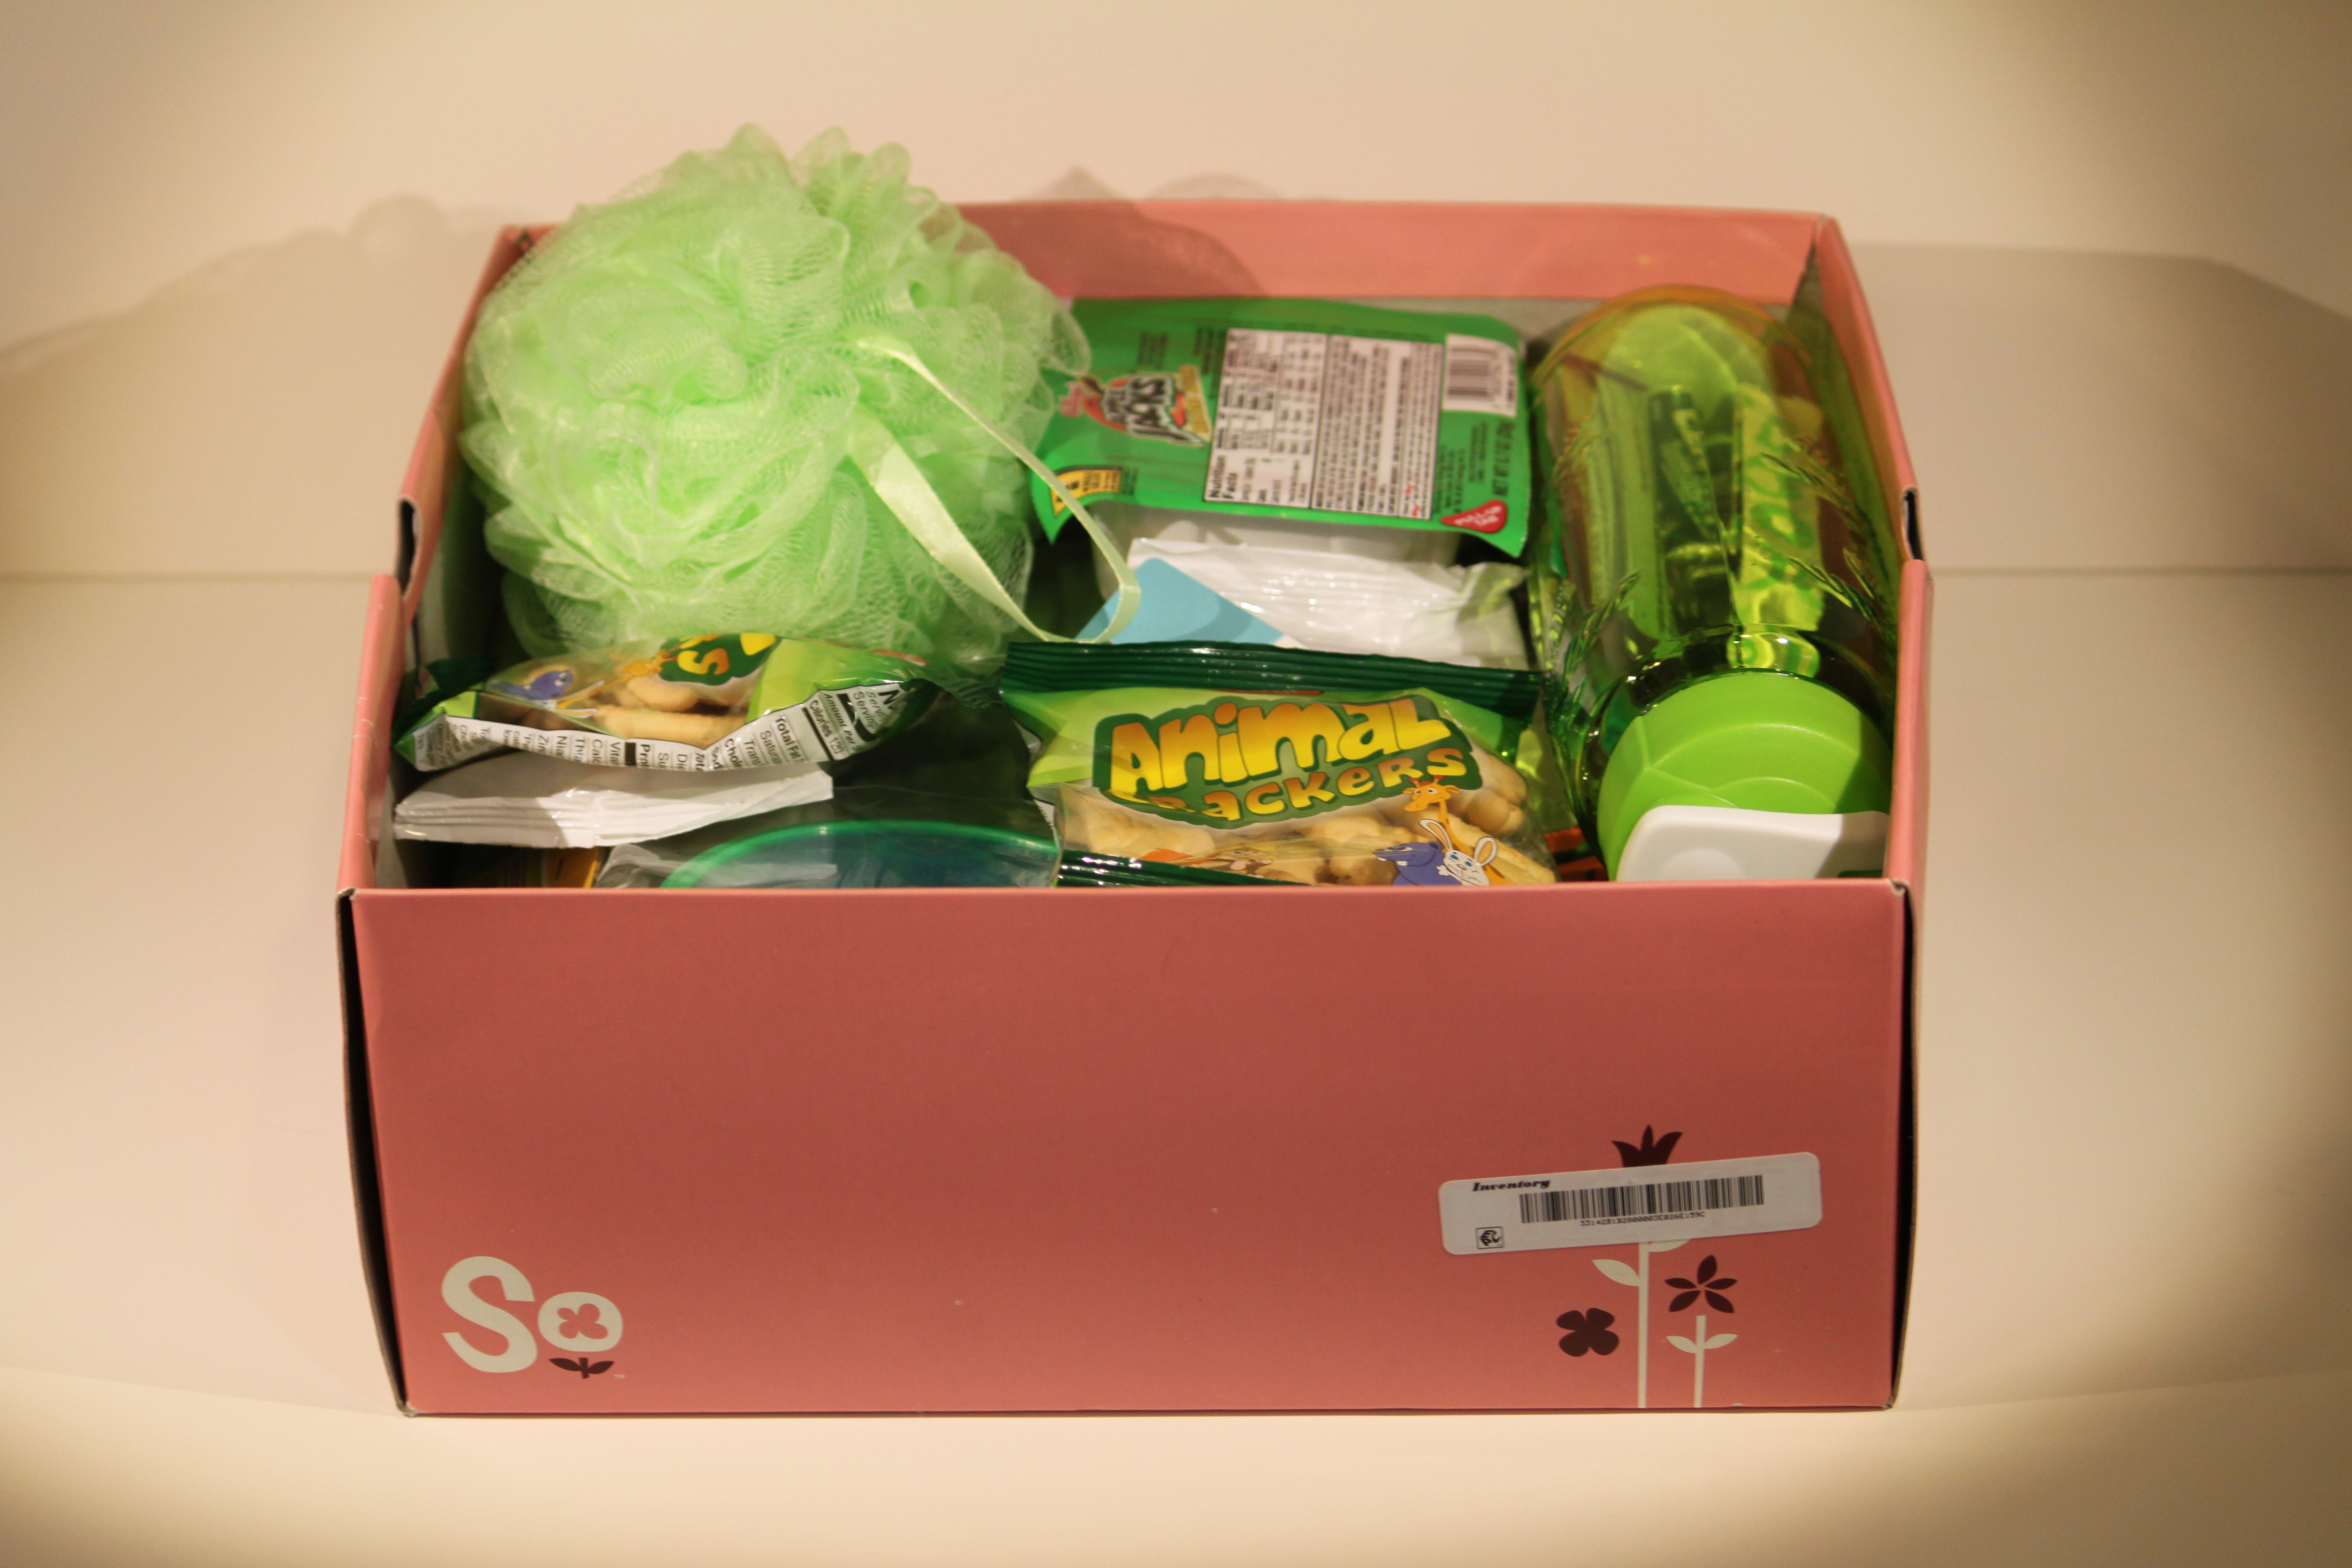
I took this treat to some friends that I visit each month, here’s how I wrapped it in some cute boxes from Hobby Lobby:

Candy Corn Fudge

Princess Aurora Baby Shower Fondant Cake

Princess Aurora cake

The latest cake project, a Princess Aurora Baby Shower Cake for a friend of Courtney’s.  Came out cute!  It’s white cake, buttercream icing and Duff’s pink fondant from Michaels.  The bottom layer is a double 8″ and the top is a double 6″.  Cort formed the skirt decoration, crown and letters out of fondant and she brushed the crown and letters with edible glitter to make them sparkle! Welcome to the world Baby Aurora!

“Sodalicious” Cupcakes

Sodalicious Cupcakes

Two of my very good friends are opening a drink shop in Provo and Friday is their grand opening.  I wanted to congratulate them and also celebrate with them so I made them some “Sodalicious” cupcakes!  If you live in my area, you can find them at 30 W 300 N in Provo, you can click here to visit their Facebook page and you can also find them on Instagram at SODALICIOUSUTAH.  They have sodas of all kinds with lots of special flavor add ins, hot chocolates, energy drinks, pebble ice, snacks such as popcorn, cookies and deluxe rice krispie treats.  It’s worth stopping by!

And now the cupcakes!  They are Triple Chocolate Fudge cupcakes baked in cute red striped cups that I got from the Pick Your Plum website which has crazy good daily deals on all kinds of cool stuff, you should check that out too!  Then they are topped with my favorite Buttercream Icing and the red and white decorations are made out of fondant.  I made the fondant decorations a couple of days ago so that they would have time to dry and stand up nicely on the cupcakes.  And finally, to finish, a white paper straw with blue polka dots which I got on Amazon.

Good luck Annie and Anna K (and Kevin and Kent too!), I wish you crazy success!

Tomato Sauce

Tomato Sauce

Still working on that last big bowl of garden tomatoes and this was a winner!  So flavorful!  Even Zach came up after getting home from work and eating dinner to tell me how much he liked this sauce and it’s easy too, you just need to get going a little earlier in the day if you want if for dinner.  It’s a Food Network recipe from Alton Brown.

20 Roma tomatoes, halved and seeded (I didn’t have quite enough Romas so used the other kinds from my garden too, Early Girls and Beefsteaks, and I actually used about 30 total tomatoes because some of my Romas were really small)

1/4 cup olive oil

1/2 teaspoon Kosher salt

1 teaspoon pepper

1 cup finely diced onion

2 teaspoons minced garlic

1 tablespoon finely chopped oregano leaves (I used dried)

1 tablespoon finely chopped thyme leaves (I used dry here too)

1 cup white wine or 1 1/2 cups chicken broth (vegetable broth for vegan)

1  Preheat oven to 325.

2  In two 13 x 9″ pans, place tomatoes halves cut side up.  Sprinkle with oil, salt and pepper, onion, garlic and herbs.  Bake tomatoes for 2 hours.  Check tomatoes after 1 hour and turn down heat if they seem to be cooking too quickly (which mine were so I lowered the temp to 300 and I drizzled them with a little more olive oil too).  After 2 hours, turn the oven up to 400 and bake another 30 minutes.  (My tomatoes were done after 2 hours and staring to burn so I took them out then.)  Remove from oven and process tomatoes through a food mill on medium dye setting over a small saucepan.  Discard skins.  (I used my blender which worked great, I bet you could use a food processor also.)  Add white wine (or chicken broth), bring to a boil, reduce heat to low and cook for 5 minutes.

Tortilla Soup

Tortilla Soup Another recipe from my Blendtec cookbook in the quest to use up the last of the garden tomatoes.  I thought I was doing pretty good until Bob brought in another huge bowl yesterday so now I’m right back where I started!

2 Roma tomatoes or 1 beefsteak tomato, quartered

1/2 large carrot

1″ slice red pepper, approximately 1/3 cup

1/4 avocado, approximately 1/4 cup avocado flesh

1 chunk onion, approximately 2 tablespoons

1 oz pepper jack cheese

2 sprigs fresh cilantro (variation – in place of cilantro, 6 medium basil leaves and 1/2 tablespoon agave nectar)

1 teaspoon no salt herb seasoning

3/4 teaspoon kosher salt

3/4 teaspoon garlic powder

2 cups warm water

Add ingredients to jar in order listed and secure lid.  Select “soups” and serve.  For more texture, pulse in additional ingredients such as 1/2 cup tortilla chips, black beans, corn kernels, cheese, chicken or fresh tomato.  (I added a can of black beans and a can of corn.) I thought this soup was a little blah so I added 1 teaspoon of pepper and also 1 teaspoon of this garlic seasoning mix that I have from Alyson’s Pantry.  It was still a little blah so I told the boys to eat it with some salsa and/or sour cream to jazz it up.  It wasn’t terrible just so-so.

“Greenie” Care Package

Green Care Package

I’m starting to work on growing my blog a little bit more so you’ll see a few minor changes coming up here and one of those is that I’m going to expand the kinds of posts I do, so instead of mostly recipes I’m going to experiment with expanding to some more food related posts as well and this will be one of the first.  We’ll see how it goes!  This is a great idea for anyone you know who is trying something new – a job, college, school of any kind really, moving to a new place, whatever might make them a “greenie” at something, in this case it is for a newly called missionary for our church.  I saw this idea on Pinterest but can’t remember the original source to give credit and when I went back to look there are quite a few and I can’t remember which I saw first.  Basically it’s a care package full of green things for the “greenie” whatever!  So I started with some chocolate chip Cake Mix Bar Cookies (already on the blog) and just dyed them green to go along with my theme.  Then I hit the local dollar store for green stuff and here’s what I found:

Green Care Package

First the food items which are Boogers gummy candy, Mike and Ikes candy, animal crackers, fruit snacks, granola bars, Certs, Lifesavers, Apple Jacks and little packs of drink mix.

Next the nonfood items which are scissors, chap stick, nail files, gel pen, highlighter, note pad, tissues, Qtips, bubbles, Goofy String, hand sanitizer, shower puff, water bottle, post its and big glasses.

Then all you need is  a box if you’re mailing it (which I am) or a cute green container if not:

Green Care Package

Too bad I didn’t have a green box!

Then all you need is a sign or note:

Green Care Package

And there you are, a “Greenie” care package for your favorite greenie whatever!

White on White Flower Quilted Fondant Cake

White on White Cake

I got a call from my friend Kathie who wanted us to make a cake for her daughter’s baptism and she wanted a cake very similar to the Black and White Birthday Cake that we recently made.  We were excited to do this cake again because we wanted to practice that quilting technique.  It came out really cute and it came together pretty quickly because we’d already made it before.  It is white cake from the White Almond Sour Cream cake recipe, buttercream icing and then the White Pettinice fondant from Funfinity.  Happy Baptism today Madison!

Chocolate Chip Pumpkin Bread

Chocolate Chip Pumpkin Bread 011

My niece Clara is on a mission for our church right here in Utah so I put together a little Halloween/Fall package for her and it needed a treat and this bread was perfect.  It’s a Betty Crocker recipe and made two loaves so the other loaf got passed off to a neighbor.  I must confess that I do not love pumpkin but I recognize that other people do so hopefully Clara and her companion do.  It was easy to make and came out so pretty!

4 cups flour

2 teaspoons baking soda

1 teaspoon salt

1 teaspoon cinnamon

1/2 teaspoon nutmeg

2 cups sugar

3/4 cup butter, softened

4 eggs

1/2 cup water

1 (15 oz) can pumpkin (not pumpkin pie mix)

1 cup plus 2 tablespoons miniature semisweet chocolate chips (I added 1 1/2 cups to the batter instead of the 1also I used regular size chips in the bread and then the minis on top)

2 tablespoons chopped pecans (left these off cause Clara is allergic to walnuts and I’m not sure about pecans so wanted to be safe)

2 teaspoons sugar

1  Heat oven to 350.  Grease bottom only of two 8 x 4″ loaf pans with shortening, lightly flour or spray bottoms of pans with cooking spray and no flour.  (I learned something yesterday about making bread from this tip that they included at the bottom of the recipe:  To ensure your loaf has a gently rounded top and no lipping at the edges, grease or spray only the bottom of the pans.  Good to know!)

2  In medium bowl, stir flour, baking soda, salt, cinnamon and nutmeg until mixed.

3  In mixer bowl, beat 2 cups sugar with butter on medium 1 – 2 minutes or until creamy.  Add eggs, one at a time, beating well after each addition.  Beat in water and pumpkin on low speed.  Add flour mixture and beat on low speed 1 minute or until moistened.  Stir in 1 – 1 1/2 cups chocolate chips.  Spread evenly in pans.  Sprinkle tops with remaining 2 tablespoons chocolate chips, pecans and 2 teaspoons sugar.

4  Bake 1 hour 5 minutes to 1 hour 15 minutes or until toothpick inserted in center comes out clean.  Cool in pans 10 minutes then remove to cooling racks to cool completely, about 1 1/2 hours.

Halloween Cookie Pizza

Halloween Cookie Pizza

The Young Women came over last night to decorate pumpkins and have treats.  The last time I made dessert pizzas for their treat several of them couldn’t have any because of the rules they were trying to follow to make the soccer team (which they did!) so they’ve been asking to have dessert pizza again so that they could have some.  I found the recipe for this one on a website called “Love This Pic”, I followed the basic recipe but then added as I went along like I tend to do.  It was yummy, very sweet!

1 roll refrigerated chocolate chip cookie dough

1/2 cup peanut butter

1 cup Halloween colored candy coated chocolate candies

1/2 cup dry roasted peanuts

1/4 cup vanilla frosting (I had some neon green frosting left over from the alien cupcakes that I made for Zach so I figured what better place to use it than on a Halloween cookie pizza!)

1  Heat oven to 350.  Line 12″ pizza pan with foil, grease foil with cooking spray.  Break cookie dough into 2″ pieces and arrange evenly over pan then with floured fingers, press to form crust.  (I used my Pampered Chef pizza stone lined with parchment paper.)

2  Bake 16 – 18 minutes or until deep golden brown.  Cool completely, about 30 minutes.

3  Use foil to lift crust from pan.  Carefully remove foil from crust.  Place crust on serving platter or tray.  Spread peanut butter over crust.  Sprinkle with chocolate candies and peanuts.  (I used a combo of “Harvest” colored regular milk chocolate M&M’s and White Chocolate Candy Corn M&M’s and I also threw some chocolate chips on there too.)

4  In small microwavable bowl, microwave frosting uncovered on high 10 – 15 seconds or until thin enough to drizzle.  Transfer to small resealable food storage plastic bag.  Cut small hole in 1 corner of bag and drizzle over pizza.  (Here’s what I do, take a small bowl and press a sandwich bag with 1 corner pressed down into the middle of the bowl, pull rest of bag out so it goes over the edges of the bowl.  Place frosting in bag which is in bowl, microwave, pull bag out of bowl and snip corner and away you go, much easier!)