Bacon Black Bean Dip

Bacon Black Bean Dip

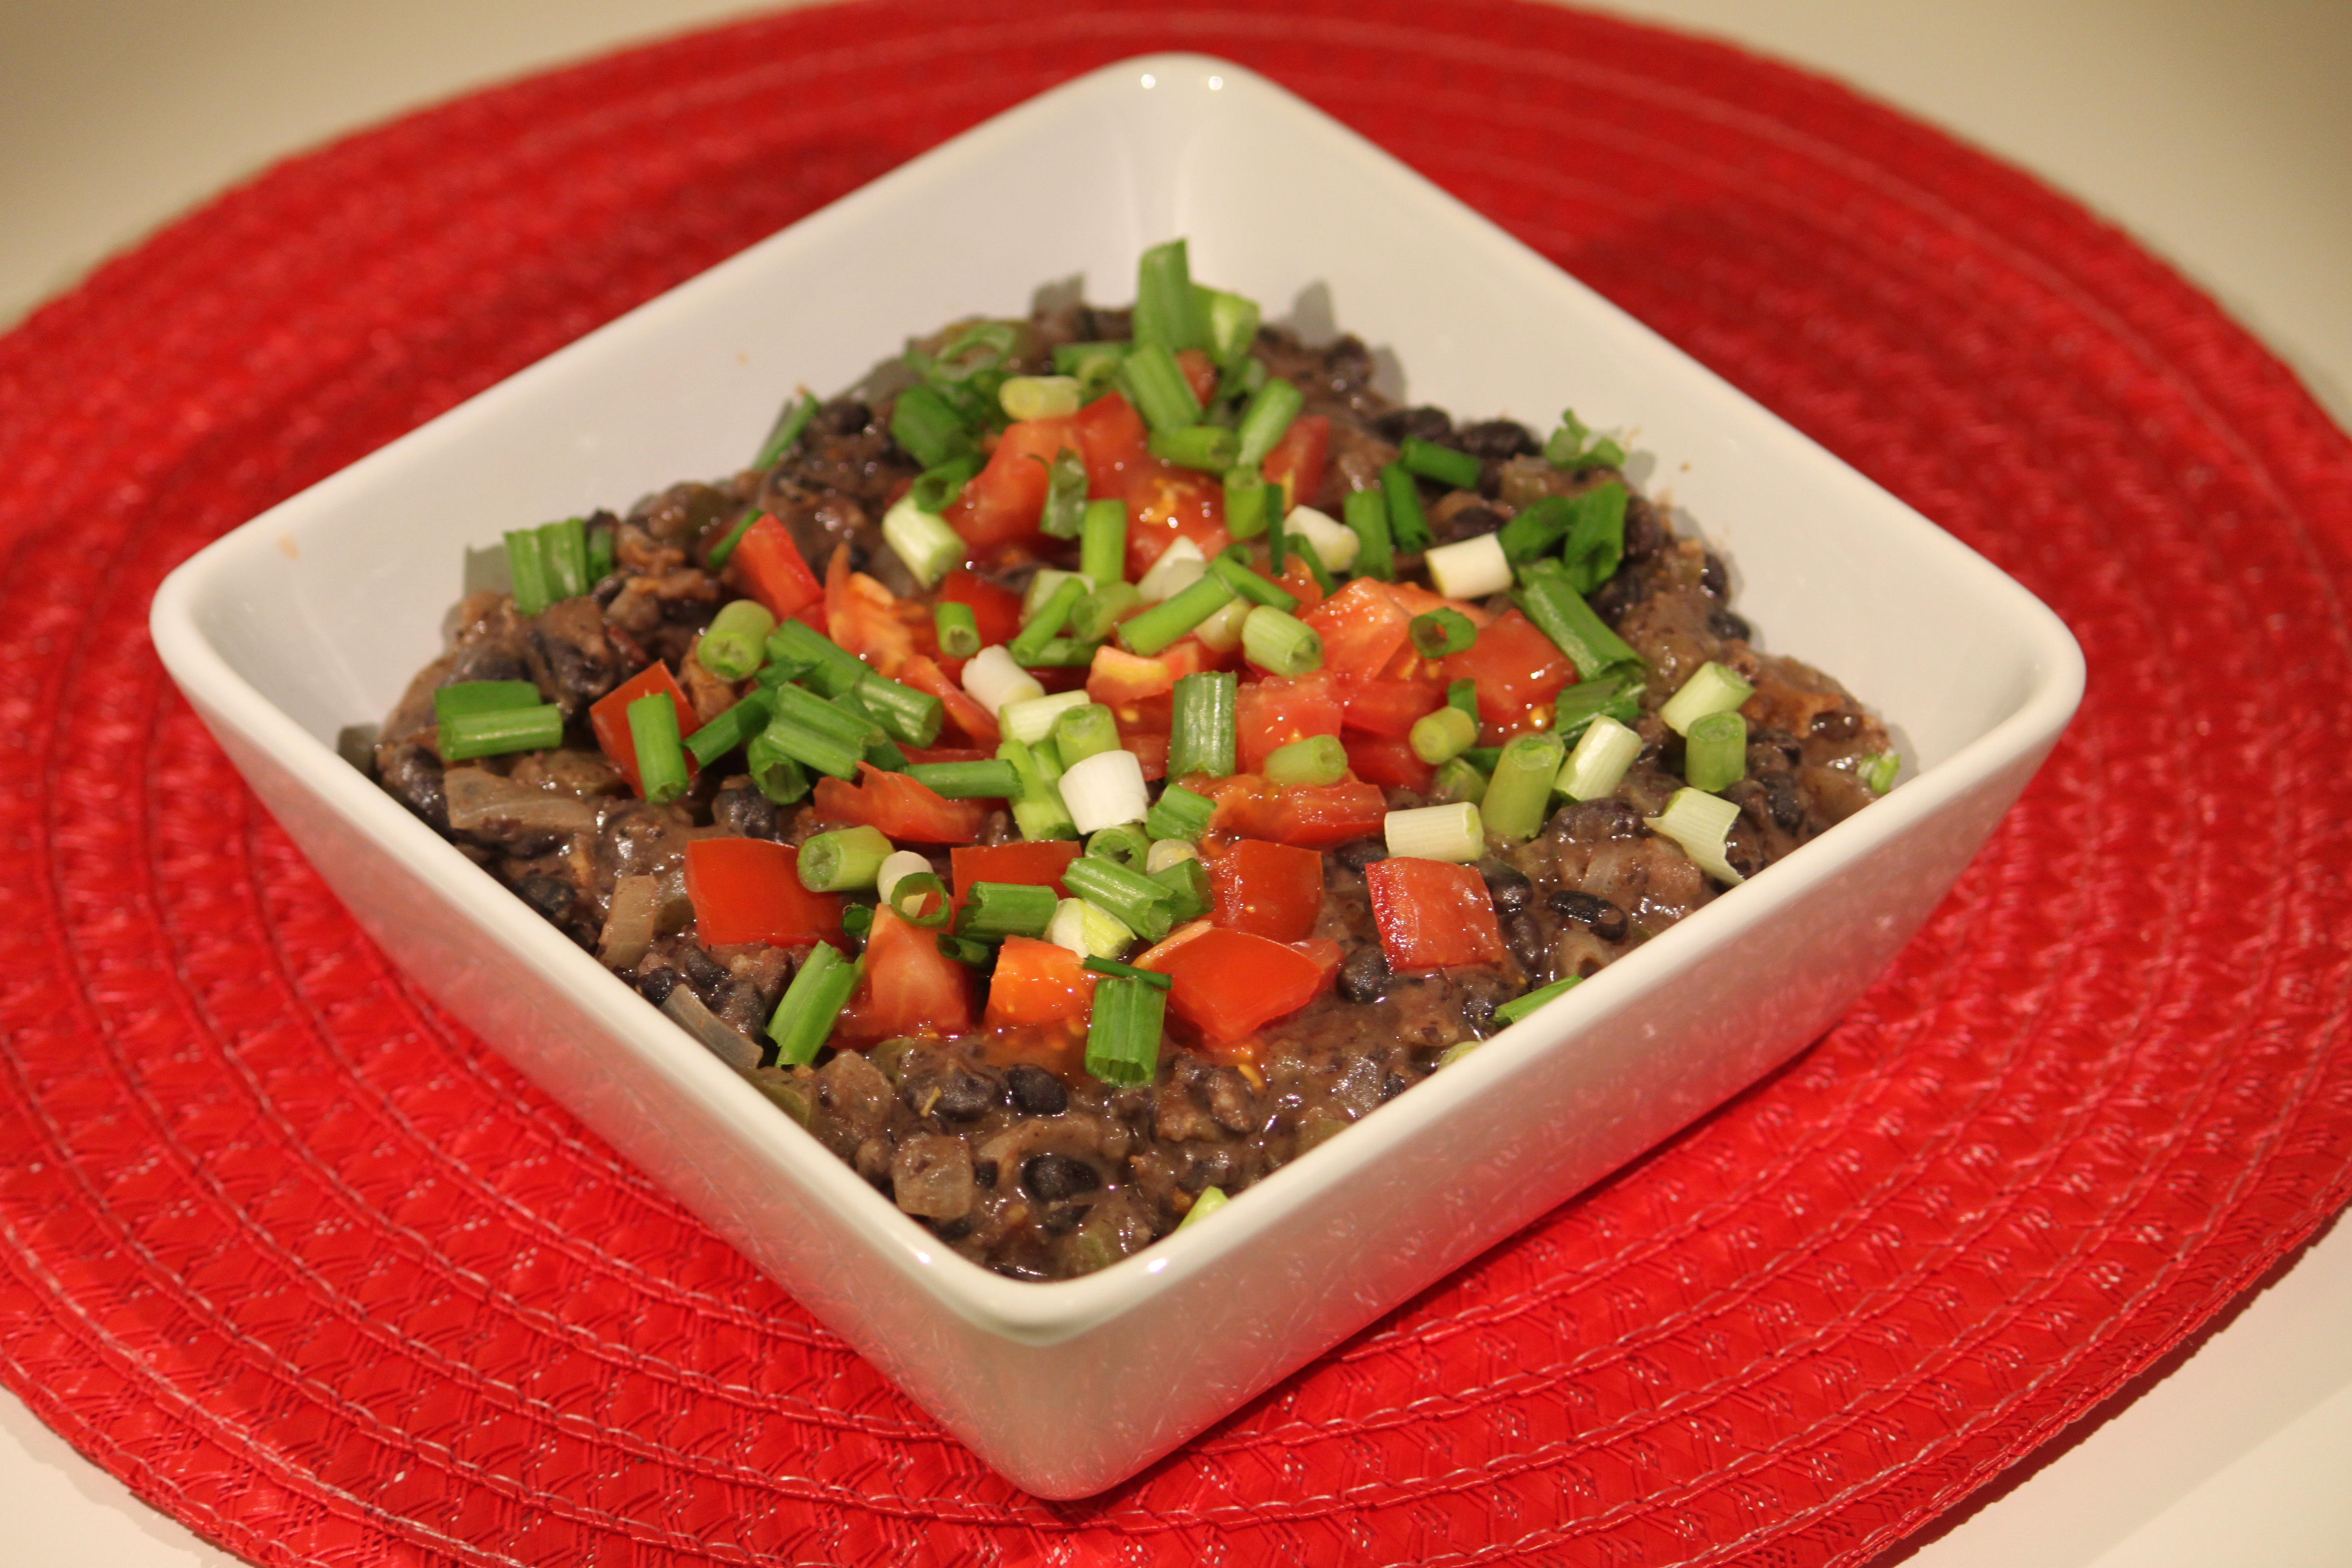
All the ladies I work with at church with the Young Women gathered here last night for a craft night to put together some gifts for the girls for an upcoming event called New Beginnings.  I promised them food to get them through the night so here is the first of the fuel food which looks sort of disgusting but tastes delicious!  It comes from the My Recipes website and while it was not difficult to make, it was a little more time consuming than most dips.

6 slices bacon, chopped (I added 1 more to make it 7 slices)

1 large onion, diced

1 green bell pepper, seeded and diced

1 jalapeno, seeded and finely diced

1 teaspoon cumin

3 cloves garlic, chopped

1/2 teaspoon oregano

2 (15 oz each) cans black beans, undrained

salt

3 tablespoons lime juice

3 scallions, thinly sliced

2 tablespoons chopped cilantro (ick, left this out)

1 large tomato, diced

1  Cook bacon until crisp.

2  Drain all but 1 tablespoon of bacon fat from skillet.  Add onion and peppers and cook until soft, about 8 minutes.  Add spices and saute for 1 minute.  Add beans and bring to a boil then simmer until thickened and slightly reduced, about 10 minutes.

3  Puree half the mixture in a blender.  Stir puree into remaining mixture and season with lime juice and salt.  Let cool to room temperature then stir in bacon and top with scallions and tomato.

2013 in review

The WordPress.com stats helper monkeys prepared a 2013 annual report for this blog.

Here’s an excerpt:

The concert hall at the Sydney Opera House holds 2,700 people. This blog was viewed about 49,000 times in 2013. If it were a concert at Sydney Opera House, it would take about 18 sold-out performances for that many people to see it.

Click here to see the complete report.

Peppermint Crumble Bars

Peppermint Crumble Bars

And finally, the last post of Christmas goodies for this year.  These were really surprisingly good, so good in fact, that I did not take them to the neighbors as planned!  They come from a blog called “Something Swanky”.

2 cups flour

1 cup butter, softened

1/2 cup sugar

2 cups white chocolate peppermint candy, like Andes peppermint bits (Target actually had a bag of Andes Peppermint Baking Bits so that’s what I used)

1 (14 oz) can sweetened condensed milk

1  Preheat oven to 350.

2  Using a pastry cutter or two forks, cut butter into sugar and flour until crumbly.

3  Press a little more than half the crumbs into the bottom of a lined 9 x 13″ baking dish.

4  Melt 1 cup of peppermint bits and milk over low heat until smooth.  Pour over crumb crust in pan.

5  Sprinkle with remaining crumb mixture and peppermint bits.

6  Bake 20 minutes or until edges just barely begin to brown.

7  Let cool completely before cutting into bars.

Orange Fluff Jello Salad

Orange Fluff Jello Salad

OK, this is one of those recipes that is classified as a salad but could just as easily be a dessert which is just the way I like to eat my salad, especially around the holidays.  It comes from the “Six Sisters’ Stuff” and it is yummy and it makes a ton so it would be perfect for a holiday dinner with the family or a party.

1 large (4.6 oz) box Cook and Serve vanilla pudding

1 large (6 oz) box orange jello

2 cups water

1 (16 oz) container Cool Whip

1/2 bag mini marshmallows

1 (20 oz) can pineapples tidbits, drained

1 (22 oz) can mandarin oranges, drained

2 – 3 bananas, optional (add just before serving)

Mix together pudding mix, jello mix and water over medium heat until it boils.  Remove from heat and pour into a large mixing bowl.  Refrigerate until mixture has thickened, about an hour.  Beat until creamy.  Fold in Cool Whip, marshmallows and fruit.  Chill and hour before serving.

Symphony Bar Toffee Almond Fudge

Symphony Bar Toffee Almond Fudge

Alright, I’m warning you now, this might be the best fudge that you’ve ever had in your whole life, in fact, in might just be the best thing that you’ve ever tasted in your whole life!  It is amazingly delicious!  This was Courtney’s Christmas Eve gift and fortunately for me it made a ton so she got a bunch and I got a bunch too!  It comes from a blog called “Tips from a Typical Mom”.   I’m pretty sure that this is what all my friends will be getting for their birthdays this year.  Consider yourselves warned about the deliciousness of this fudge!

4 cups sugar

2 cups heavy whipping cream

1 cup marshmallows

2 sticks butter, cut up

3 XL Symphony bars with toffee and almonds

1  Line a 9 x 13″ pan with parchment paper.

2  Pour whipping cream into a large saucepan, turn heat to medium and stir in sugar, continue to stir until mixture starts to boil.

3  Let mixture boil for 10 minutes.  DO NOT STIR WHILE BOILING!

4  Break up candy bars and place in mixing bowl along with marshmallows and butter.

5  When the 10 minutes is up, pour hot cream in mixing bowl over chocolate and other ingredients.  Do not scrape saucepan while pouring, you don’t want any sugar crystals that may have formed added to your fudge.

6  Start on low and gradually work up to medium and beat until everything is incorporated and mixture starts to lighten in color.

7  Pour into prepared pan and let cool for about an hour then refrigerate until completely cooled.

Homemade Kit Kats

Homemade Kit Kats

Zach loves Kit Kats so for his Christmas Eve gift I made him this homemade version which he said was delicious.  The idea comes from a blog called “Back for Seconds” and they couldn’t be any easier to make and if you ask me, they tasted better than Kit Kats!  Also another easy treat that would make a perfect gift for any occasion.

1 package vanilla cream wafer cookies

1 – 2 packages Milk Chocolate Wilton Candy Melts or whatever chocolate you prefer, chocolate chips, almond bark, whatever (I wouldn’t recommend using chocolate chips, they weren’t really designed to melt so you’d be better off with the almond bark or candy melts)

Melt chocolate according to package directions.  Dip wafers in chocolate until fully covered (a fork will work well for these too), gently shake off any excess chocolate then place on wax paper until chocolate is set.

Chocolate Dipped Oreos

Chocolate Dipped Oreos

I’ve made a lot of goodies the past few days and am finally finding some time to sit down and blog about them.  For Christmas Eve I decided to make everyone a homemade candy to open that night instead of the usual pjs.  Bob loves Oreos so I dipped some holiday red filled Oreos for him as his gift.  These are really easy to do and could be made anytime for any occasion as a gift.

1 package Oreos

1 – 2 bags Wilton Candy Melts in your choice of flavors/colors (I did milk and white chocolate)

sprinkles, if desired

Melt candy melts according to package directions.  Carefully dip Oreos in melted chocolate until covered (a fork will work great for this if you don’t have any fancy dipping tools), gently shake excess chocolate off before setting on wax paper, top with your choice of toppings – sprinkles, jimmies, crushed Oreos, nuts, etc, the sky’s the limit then let sit until the chocolate is set.  Easy peasy!

Christmas Tree Cake Pops

Christmas Tree Cake Pops

I wanted to make some treats for the Young Women at church to go with their Christmas gift so I pulled out some cake pop molds which I bought from Amazon a little while ago because I remembered the tree and snowman shaped molds:

Cake Pop Molds

As you can see, in addition to the tree and snowman, there is a circle, a heart and a cupcake.  I decided to go with the tree for the girls.  I prepared the cake pops according to the instructions in the “Basic Cake Pops” recipe and then followed the instructions for the molds which was to fill the mold, press shut wiping off any excess that was pressed out then carefully removing the tree shape from the mold and placing in the freezer for 15 minutes then moving to the fridge until ready to dip.  (A note about the molds, they weren’t hard to use, just time consuming but I did notice that the stickier your cake pop batter was, the more difficult the mold was to use so making your cake pop batter a little drier will make the molds a little easier to use.)  I used some red paper striped straws (can’t remember where these came from but probably Amazon or “Pick Your Plum”) and dipped them in Wilton Green Candy Melts, topping them with a Wilton Star Shaped Large Sprinkle and then sprinkling with Multicolored Nonpareils, adorable!  Also pronounced delicious by my husband Bob who ate some of the rejects!  🙂

Red and Green Velvet Christmas Cupcakes

Red and Green Velvet Cupcakes

Yesterday I spent the better part of the day on Christmas projects – wrapping presents, making these Christmas cupcakes and also Christmas Tree Cake Pops (post to follow) and so it was a fun day!  I think these cupcakes came out so cute!  I started with a Duncan Hines Holiday Velvets Cake Mix:

Duncan Hines Holiday Velvets Cake Mix

It contains 1 bag of red velvet and 1 bag of green velvet and each bag will make either 12 cupcakes or one cake layer so I made cupcakes following the package directions but before putting them into the oven, I put 1 of these into each cupcake:

Hershey Candy Cake Kisses

When they were out of the oven and cooled, I frosted them with my favorite vanilla buttercream icing, sprinkled them with either red, green or white sanding sugar and then finished them with a Christmas owl cupcake pick which matched the cupcake liner.  The set of Christmas owl cupcake liners and picks comes from “Pick Your Plum”, a website that I fully admit to being addicted to with it’s awesome daily deals.  So Merry Christmas to Amy and family who got to take these yummies home with them!

Here’s another version (I’ve been having fun decorating these red and green cupcakes!):

Red and Green Velvet Cupcakes

Mini Muffin Pan Christmas Treats

Mini Muffin Pan Treats

If your house is anything like mine, then you have a pile of treats from all your sweet neighbors sitting on your counter!  Yesterday I knocked out a bunch of yummy Christmas goodies in a short amount of time so I thought I’d share with you guys.

First, prepare a box of brownie mix according to package directions, scoop batter into wells of your mini muffin pan and bake for about 12 – 14 minutes (I made about 5 dozen brownie bites/cups from 1 box).  When the brownies bites are fresh out of the oven, I did several different things with them.  For 1 dozen of them I pressed Hershey’s Hugs (the white ones in the pic) right into the center of the brownie bite, I did the same thing with a dozen more, this time using Hershey’s Mint Truffle Kisses (the dark Kiss in the pic) and with a dozen more I pressed mini Reeses Peanut Butter Cups into them.  (If you like you can add a large holiday sprinkle like I did to the top of the peanut butter cup once it has gotten a little soft.)  After you’ve put all the candies in the centers then let them sit in the pans for about 15 minutes before removing.  YUM!  With the last 2 dozen brownie bites, I made them into brownie cups by pressing them with the Pampered Chef tart shaper right when they came out of the oven, I then let them sit in the pan for 15 minutes before removing and then when they were completely cool, I piped Nutella into them with my Pampered Chef Easy Accent Decorator and then topped them with a Mint M&M.

After the brownies were done, I prepared a pouch of Betty Crocker Peanut Butter Cookie Mix according to package directions and baked them in the mini muffin pan as well (the pouch yielded about 3 dozen).  The peanut butter ones took a little less time to bake than the brownies, about 10 – 12 minutes and again, when they were hot right out of the oven I pressed Peanut Butter Cups right into the centers and then topped with a large holiday sprinkle and let them sit in the pan about 15 minutes.

So there you have it, about 8 dozen Christmas treats in no time at all.  Merry Christmas blog friends!  I hope amid all the rushing around that you and I both can find time to appreciate “the reason for the season”.  When I count my blessings, all of you are on my list for supporting my blog, thank you so much!